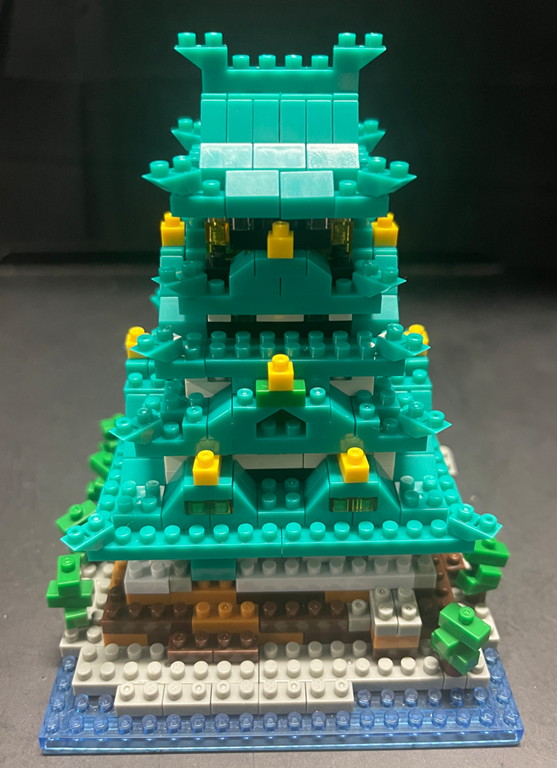
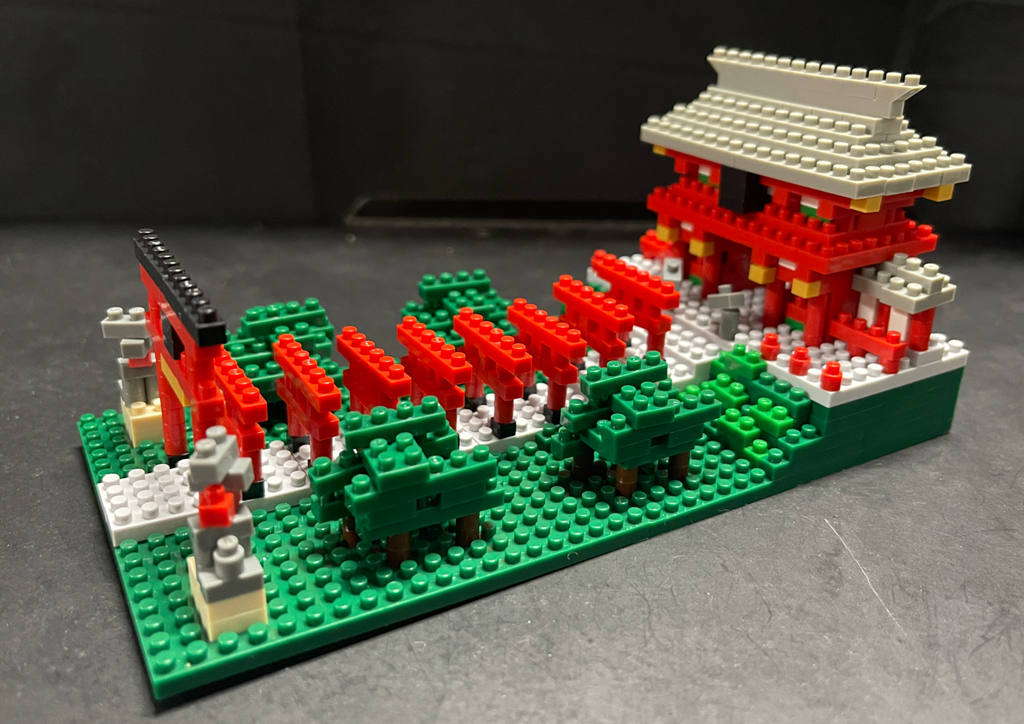
https://www.amazon.com.au/Nanoblock-Tokyo-Sky-Tree-NBH_229/dp/B09Y5JZJYS
Done
So far I’ve connected an Arducam 3MP camera to an ESP32 controller and uploaded regular photos to Azure and displayed them on a web page. Those details are here:
https://blog.ciaopslabs.com/2026/01/18/arducam-as-a-live-web-cam/
Now what I want to do is feed those images into Azure AI and display the results back on a web page.
The first step in this process will be to create a Computer Vision Service in Azure.
With this create you now need to get yoru API credentials for the AI service.
Keep these values safe – you’ll need them in the next step!
Next, you’ll need to create a HTML webpage to connect and display the results. You’ll find that here:
https://github.com/directorcia/Azure/blob/master/Iot/Arducam/3MP/vision-index.html
Make sure you update these values in yoru file to match your service:
const VISION_ENDPOINT = ‘https://<YOUR VISION SERVICE NAME>.cognitiveservices.azure.com/’;
const VISION_KEY = ‘<YOUR VISION SERVICE KEY>’;
const IMAGE_URL = ‘<YOUR BLOB STORAGE ACCOUNT>.blob.core.windows.net/images/latest.jpg’;
Note: this is not a secure way to implement the service if you are going to expose the page to the Internet. This should therefore be addressed if you plan to make the page public.
Once you have the new HTML file upload it to the $web container of your Blob storage account via:
Now you should be able to view the website by:
Troubleshooting Common Issues
Issue 1: “Access Denied” or 401 Error
Cause: API key is incorrect or endpoint is wrong
Solution:
Issue 2: Image Doesn’t Show
Cause: Image URL is wrong or image container is not public
Solution:
Issue 3: CORS Error in Browser Console
Cause: Cross-Origin Resource Sharing not configured
Solution:
Issue 4: “Analysis never completes” or Stuck on “Analyzing…”
Cause: Usually a JavaScript error or network issue
Solution:
Issue 5: Wrong Region Error
Cause: Computer Vision resource created in unsupported region
Solution:
Understanding Costs (Important!)
Free Tier Limits
How This Setup Saves Money
Image Refresh: Happens every 60 seconds (FREE – just downloading an image)
AI Analysis: Only happens:
NOT when: The image auto-refreshes every 60 seconds
Example Usage:
This optimized version:
The next step will be attempt to have the Ai count and display the number of vehicles it sees in each shot.
I recently managed to Send images from Arducam to Azure, which was a major win. Only challenge with that is it isn’t easy to see those images inside Azure. Thus, I wanted an easy way to do this and figured that displaying on a web page was the go.
Turns out, this isn’t to hard using Azure. Thus, I started by modifying the code for the controller so it would always upload an image using the same name and do so every 60 seconds. You can find the code for the controller here:
https://github.com/directorcia/Azure/blob/master/Iot/Arducam/3MP/storage-web.cpp
and documentation here:
https://github.com/directorcia/Azure/blob/master/Iot/Arducam/3MP/storage-web.md
Next, I created an index.html file to display the image from Azure Blob storage. You can find a copy of that here:
https://github.com/directorcia/Azure/blob/master/Iot/Arducam/3MP/web-index.html
you need to rename it to index.html and put the name of your Blob storage URL on line 40.
Next, you’ll need to enable a static website on your Blob storage account.
Then you’ll need to upload your index.html to the $web container in your Blob storage account.
Now you’ll need to set public access for $web container.
Next, set public access for images container
You should be able to view the website using the Primary endpoint, that was back in the Static website settings as shown above. In my case I also need to add /index.html to end of the URL to get it to display.
You can see my result above. The page should refresh every 60 seconds automatically with a new image. You should also be able to now view this image from anywhere by simply browsing to your URL.
My next plan is to try and integrate Azure AI vision, given the image is already now in Azure, and for the page to report the weather i.e. sunny, wet, etc. yes, I know you can see that in the image but that makes it an easy way to very that Ai reading the image correctly. Let’s see how hard that is to do next.
My new Snapmaker U1 recently arrived. This allows multi colour printing of up to 4 different colours at once. You can see the test figure i was able to make.
The printer is high quality and easy to assemble.
Device Calibration (1/3)
Homing Anomaly
Error Code: 0002-0528-0000-0011
Check if timing belts are tensioned properly, X
and Y axes move smoothly, and there are no
obstructions at the X and Y homing positions.
Retry after troubleshooting. If issue persists,
contact technical support.
I did get the above error when initially setting it up but the following help article:
https://wiki.snapmaker.com/en/snapmaker_u1/troubleshooting/U1_homing_failure
helped. I basically loosened the print head, moved it through its range or travels a few times, tightened teh screws back up a little less tightly and it all worked.
There are plenty of review out there on YouTube if you want to go and take a look but so far everything I have printed has worked flawlessly and I am very happy. Given that the printer has an open top, where an eventual cover that I have also bought, it is louder than I expected. The cover should solve the problem when it arrive but it is nothing I can’t deal with in the mean time.
So far so good then with the U1 and I’ll report back my progress as I grow mor familiar.
Over on the CIAOPS Blog I do a number of annual posts on a range of items I use in my business. I thought therefore I should start doing one here. So here goes:
Snapmaker Artisan – My 3D printer of choice. I have had this for a few years and use it to create everything I need. Love the quality of the device as well as the results that I get. I can do laser cutting and CNC as well if you change the print head but for me, most of time is spent printing.
Snap Make U1 – After supporting this on Kickstarter earlier this year I have only just received my unit this week. I’ll be posting more about this printer once I have it all working. In essence, where it differs from the Snapmaker Artisan is that the U1 allows you to print four (4) different colours without having to change filament. Looking forward to what I can get from this.
Visual Studio code – my software development environment. Free from Microsoft. I use this to managed and develop all the code for my IoT projects.
PlatformIO – I use this extension in my coding environment to actually managed my IoT projects. It allows me to select the right controller board, manage the driver libraries as well as upload the code to the actual controller boards. A must. Many other use the Arduno IDE and even though PlatformIO does take a little to get used to, for me it is the way to go and allows to to develop and test things easily.
Github Copilot – starts with a free version but I’m using the Pro version for $10 per month and would recommend that as it just makes life so easy. Code is the real secret to getting IoT projects working and I am not a developer and my C programming is pretty rusty so the number of times AI has allowed to create what I want is amazing. It also deals with compile and syntax errors, missing driivers, commenting code and so much more. I’d still be battling away with the basics if I wasn’t using this and for free so should you!
Github – where I publish all my code and documentation for my projects. Hopefully what I create can help others as they have helped me. Also a great place to file projects for the time you need to go back and find out how do did something. Again, there is no cost to get started using GitHub.
Core Electronics – My primary source for components. Great range, easy purchasing and quick delivery. Highly recommended.
Little Bird Electronics – My backup source for components. Again, great range, easy purchasing and quick delivery. Highly recommended.
Acebott controllers – My current choice when it comes to controller boards and projects. Their stuff is the way I shoudl have started my IoT journey.
Keyestudio – Another great controller and kit seller I use regularly.
Amazon – Always a great source for anything I need, whether controller or sensor boards, tools, etc. Easy ordering and quick delivery. This is where I got my Robot Arm from.
That’s probably enough to give you an idea of the main things I use in the lab. Hopefully, it you can take a look at these if you have any interest and let me know if you have any questions on anything here.
Now that I have my Arducam working, the next step is to be able to upload the images from the camera to Azure Blob storage. To do this, you’ll need to set up an Azure subscription and follow these steps to actually create an Azure Storage Account:
https://github.com/directorcia/Azure/blob/master/Iot/Arducam/3MP/azure-storage.md
It is also recommended that you place all you sensitive information (WiFi password, Azure information, etc) in an io_config.h file to separate it from the main code.
With the Azure Blob storage configured next you’ll need to hook up your Arducam to your controller. This time I’ve gone for a Acebott ESP32-Max-V1.0 because it has inbuilt Wifi. Thus, I have wired the following ports:
VSPI (recommended):
Acebott ESP32-Max-V1.0 pinout
Arducam Pinout
I then uploaded teh following code to the Acebott board:
https://github.com/directorcia/Azure/blob/master/Iot/Arducam/3MP/capture-image-azure.cpp
and the documentation for this is here:
https://github.com/directorcia/Azure/blob/master/Iot/Arducam/3MP/capture-image-azure.md
but in essence after the board has booted the serial interface will show:
If you select one of the upload options you should see something like:
then if you look inside the Azure Blob storage container you should see the file like so:
This should make it easy to store many images from the camera without having to use the serial port to view and download them
If you have been following along here for a while you’ll know that I have had constant failures trying to get an Arducam Mega 3MP working with my IoT projects. The last attempt was:
https://blog.ciaopslabs.com/2025/07/13/arducam-mega-3mp-failed-attempt/
After getting my robot car working with a PS3 controller I was working towards getting the PS3 controller also working with my robot arm. At the moment the robot arm is connected to a Keyestudio KS0172 with a Keyestudio Sensor Shield/Expansion Board V5 for Arduino Leonardo attached. Unfortunately, the Keyestudio KS0172 lacks both Bluetooth and Wifi but I noticed the Keyestudio Sensor Shield/Expansion Board V5 for Arduino Leonardo actually has a dedicated SPI port like so:
Ah ha. I wonder if I can get that working with the Arducam? Spoiler alert, yes I can.
I have now come to realise probably the two biggest mistakes I have made with the Arducam Mega 3MP:
1. I thought it was a ‘streaming’ style camera. No it’s designed really just to take pictures
2. I need something to ‘read/download’ the images from the camera to actually see those images
With the camera connected to the Keyestudio Sensor Shield/Expansion Board V5 for Arduino Leonardo SPI port. As a reminder the camera connections are:
I used this piece of code on the Keyestudio KS0172:
https://github.com/directorcia/Azure/blob/master/Iot/Arducam/3MP/capture-image.cpp
to connect to the camera and allow a photo to be taken and stream it down the serial port on request. The documentation for this code is here:
https://github.com/directorcia/Azure/blob/master/Iot/Arducam/3MP/capture-image.md
I then had to write some Python code to actually initiate a photo being taken and extract the image from the camera over the USB/serial port and put it into a subdirectory on my machine. That code is here:
https://github.com/directorcia/Azure/blob/master/Iot/Arducam/3MP/capture-image.py
and the documentation for that is here:
https://github.com/directorcia/Azure/blob/master/Iot/Arducam/3MP/capture-image-py.md
and to execute this Python script I also needed to install Python on my machine, which is pretty easy in Visual Studio code by just adding the Python extension.
With all that in place and after a bit of back and forth to get the image to download correctly via the serial port I was indeed able to confirm that my Arducam Mega 3MP is working properly and I can now use it to take photos.
Phew. That took a long time and a lot of effort. I think my major oversights, listed above, really held me back here along with the usual physical connection challenges. Now, I have a much better understanding of what the camera can and can’t do and what I need to actually see an image and most importantly the Arducam Mega 3MP is finally actually working!
It is now time to bring all the pieces together on the Acebott Smart Car and make it a movable platform that can stream live video.
I’ve taken the standard ACEBOTT ESP32 Smart Car Starter Kit with Mecanum Wheels and added the ACEBOTT Bluetooth Controller Expansion for QD001 (QD010) to control its movement. I have also added the ACEBOTT ESP32 Camera Expansion pack for Smart Car (QD002) to give the car vision.
You can see that I have kept the ultrasonic sensor from QD001 and simply mounted the camera (QD002) on top to facilitate pan left and right. I could have added an additional servo to control this independently of the ultrasonic sensor, however in the end I decided that it was easier simply to print a 3D mount so the camera unit could sit above the ultrasonic senor and take advantage of the pan left and right servo already in place. I could refine the design with a separate 3D printed mount for the camera unit if desired, but for the sake of getting things working I’ve decide to stay with thsi method.
I have detailed how to get the PS3 controller (QD010) working with the robot car (QD001) here –
and I have covered off getting the camera (QD002) working stand alone here:
https://blog.ciaopslabs.com/2025/12/31/connecting-a-webcam-to-an-acebott-esp32-smart-car/
You’ll find the code and documentation in those articles. At a minimum you’ll need to program the camera (QD002) to support the creation of a web server so it can stream the video to a device.
To mount a device with a screen (an old iPhone) to the PS3 controller (QD010) I found this:
Universal smartphone mount for DUALSHOCK 3 (PS3 controller)
that I could 3D print. I did need to slight extend the width of the base to suit my controller but it worked a treat.
The above version of the holder was my first printing attempt where I broke the lower part of the base holder when attempting to fit on the controller. This lead to me slightly lengthening the model the second time around that fixed the issue. The initial broken model is secured here using some rubber bands but the re done version fits perfectly.
With the code loaded into the robot car (QD001) and the camera (QD002) as well as having the PS3 controller (QD010) connected the end result looks like:
With a PS3 style controller connected to an Acebott ESP32 Smart Car my next task was getting the add QD002 ACEBOTT ESP32 Camera Expansion pack for Smart Car working.
I had previously tried to get an Arducam Mega 3MP working and failed miserably, but was highly motivated to overcome that setback with a purpose built camera add on in the Acebott QD002.
Things did not get off to a great start because the connection process required the camera to be connected to the UART port of the driver board.
The problem with that is the UART port conflicts with the serial port for uploads and monitoring. This mean hat I needed to disconnect the camera UART connection every time I wanted to update my code and then with it reconnected there was no real way to monitor the result. I either need to go to great lengths to program up and connected a different UART on the board or find another solution.
The easiest solution was to simply upload the code on the ESP32 camera to enable a web server to stream the code directly from the camera board. You’ll find that code here:
and the documentation for it here:
Thus, the camera board will boot, connect to WiFi, run a web server, report that IP address to the serial console of the web camera board and then stream the camera video there.
I cannot tell you how satisfying it was to finally seeing streamed images on my screen. It had taken a long time to to get here but now, finally, I was ready to finish assembly of the car and mount camera onto it!
Tamiya 1/35 German King Tiger Tank (Ardennes Front) Scaled Plastic Model Kit
Paints
Recommended by Tamiya
TS-1 Red Brown
TS-2 Dark Green
TS-3 Dark Yellow
TS-46 Light Sand
X-10 Gloss Gun Metal
X-11 Gloss Chrome Silver
X-18 Semi-Gloss Black
XF-1 Flat Black
XF-10 Flat Brown
XF-15 Flat Flesh
XF-16 Flat Aluminium
XF-27 Flat Black Green
XF-5 Flat Green
XF-52 Flat Earth
XF-56 Flat Metallic Grey
XF-60 Flat Dark Yellow
XF-61 Flat Dark Green
XF-63 Flat German Grey
XF-64 Flat Red Brown
XF-65 Flat Field Grey