Keyestudio KS0172–Humidity Sensor

I’ve had some previous experience with a temperature sensor on a few other boards:

Adafruit Huzzah temperature sensor

So this project seemed staright forward. The circuit diagram is:

Screenshot 2025-02-04 183750

and the code you will find here:

https://github.com/directorcia/Azure/blob/master/Iot/Keyestudio%20KS0172/Lesson_7/main.cpp

When I tried to use a generic DHT sensor library from the Platformio registry for the project wouldn’t work. I therefore needed to work out how to use thr provide library with Platformio. Turns out that is much easier than I thought!

  1. Inside your PlatformIO project, navigate to the lib/ directory.
  2. Create a new folder, e.g., MyLibrary/.
  3. Inside MyLibrary/, add your library files:
    lib/
    ├── MyLibrary/
    │ ├── src/
    │ │ ├── MyLibrary.h
    │ │ ├── MyLibrary.cpp
    │ ├── library.json (optional)
  4. In your src/main.cpp, include the library:
    #include <MyLibrary.h>
  5. PlatformIO will automatically detect and include the library.

This worked a treat and allowed my code to compile. Major learning there.
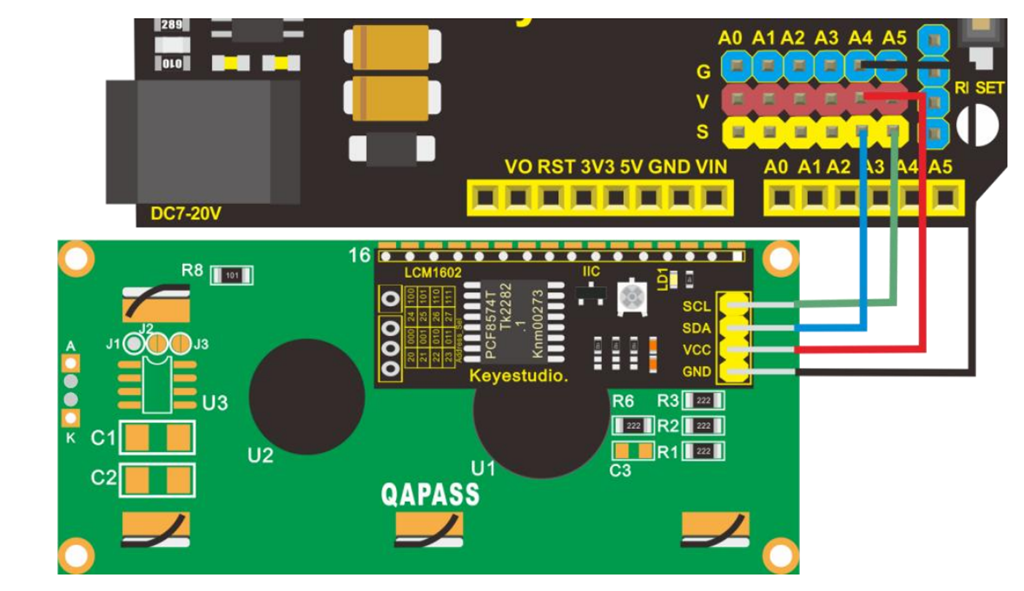
Keyestudio KS0172 – LCD display

Screenshot 2025-01-29 134844

Next on the list of projects with the Keyestudio KS0172 board is connecting an LCD display as shown above.

The code for this is here:

https://github.com/directorcia/Azure/blob/master/Iot/Keyestudio%20KS0172/Lesson_5/main.cpp

and the only trick was to add the LiquidCrystal_I2C library, which was easy enough to do in Platformio.

Screenshot 2025-01-29 135357

and the result is shown above.

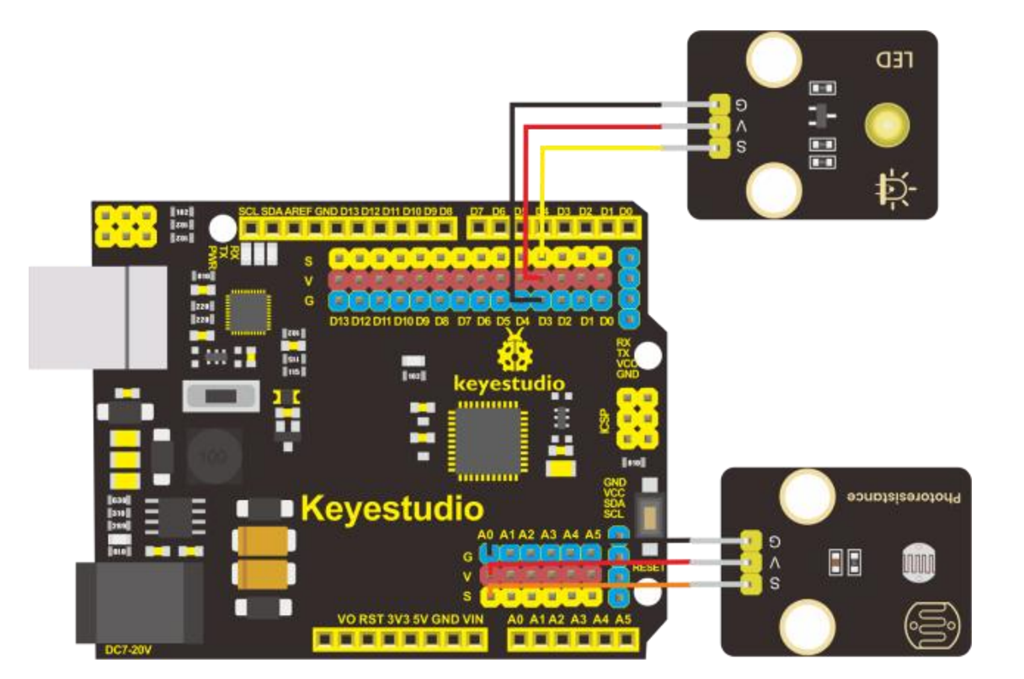
Next was to configure a light sensor. The code for that is here:

https://github.com/directorcia/Azure/blob/master/Iot/Keyestudio%20KS0172/Lesson_6/main.cpp

Screenshot 2025-01-29 141327

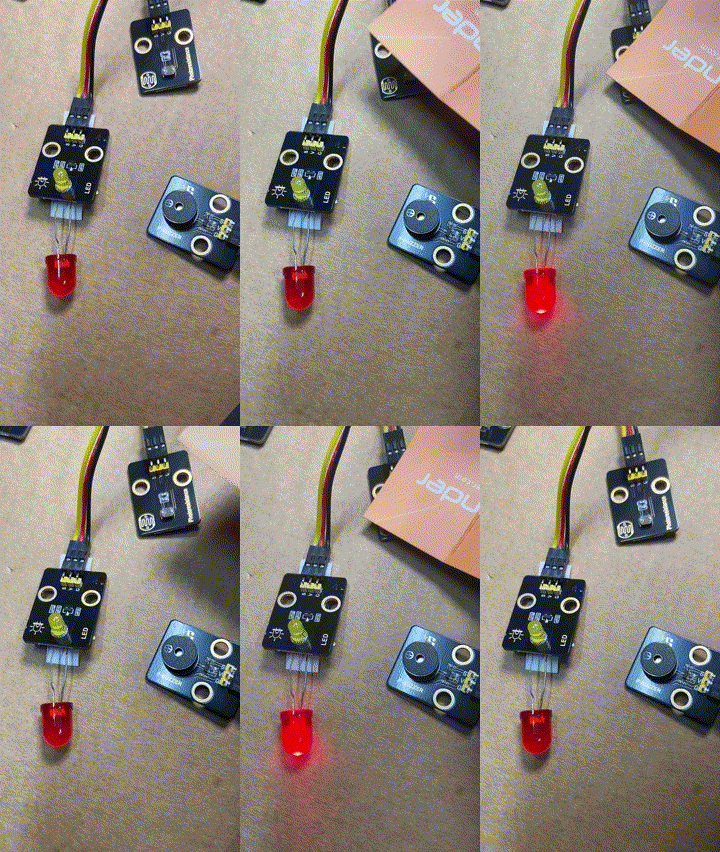
During this process the LED on the add on board failed! Strange. I checked the port, the voltage and whole lot of other stuff, but as far as I can tell the LED itself failed! I therefore used the buzzer as substitute until I decided to ‘bodgy’ another LED I had laying around as a temporary substitute. Why? Well, this LED board is pretty handy for troubleshooting I’ve found.

lesson6

The result is as shown above, both sound and light when the light sensor falls below a certain level.

I can’t find a replacement for the LED board on its own. Seems it only comes with full kits. I’ll need to look at buying a similar LED at some stage and maybe swapping the faulty on out on the board. It will be rather fiddly but worth the effort going forward I reckon.

Keyestudio KS0172–Button

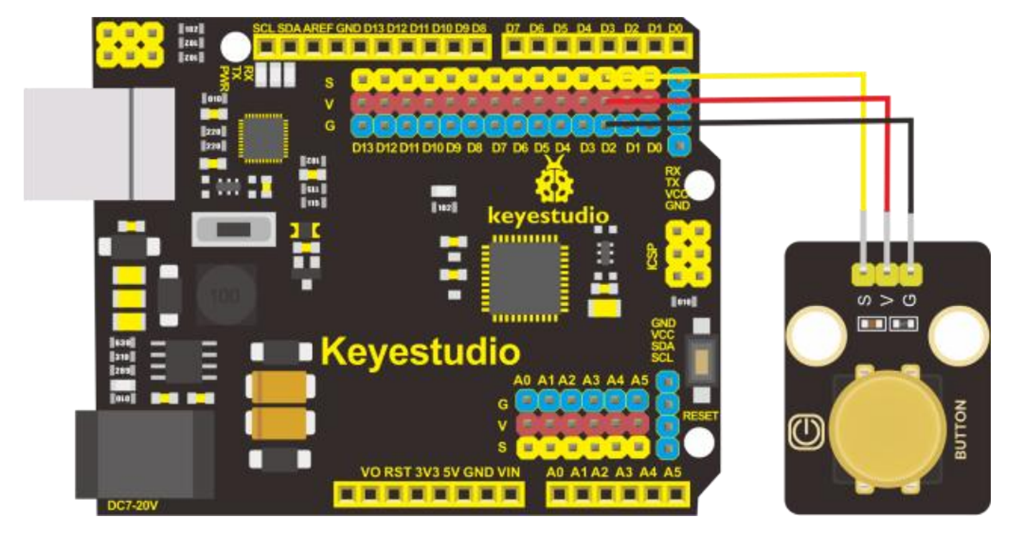
Screenshot 2025-01-28 125142

The next project with the Keyestudio KS0172 board is to connect a button as shown above and observe the effect in the terminal window. The code for this is here:

https://github.com/directorcia/Azure/blob/master/Iot/Keyestudio%20KS0172/Lesson_3.1/main.cpp

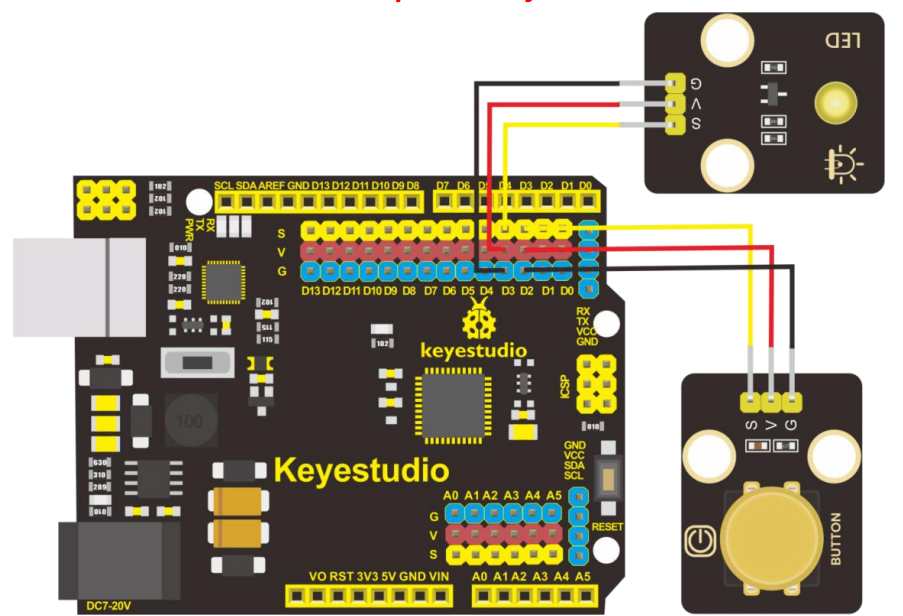
Next, is to have the button control the LED like so:

Screenshot 2025-01-28 125612

and the code for this is here:

https://github.com/directorcia/Azure/blob/master/Iot/Keyestudio%20KS0172/Lesson_3.2/main.cpp

and the result looks like:

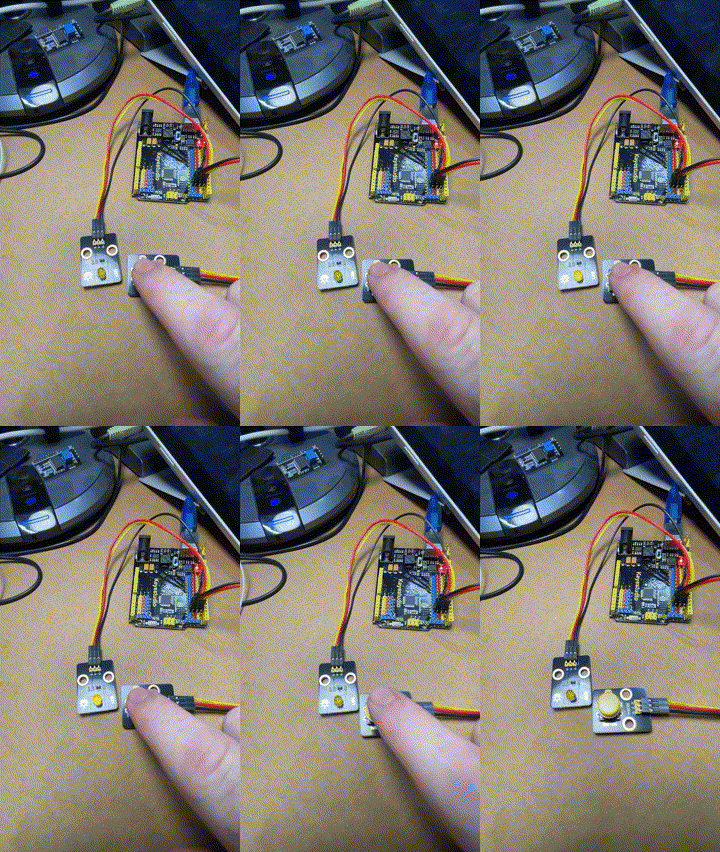
lesson3-2

The next two projects use a buzzer to make sound like so:

Screenshot 2025-01-28 130331

the code for these two lessons is here:

https://github.com/directorcia/Azure/blob/master/Iot/Keyestudio%20KS0172/Lesson_4.1/main.cpp

and here

https://github.com/directorcia/Azure/blob/master/Iot/Keyestudio%20KS0172/Lesson_4.2/main.cpp

My own attempt with the help of AI is here:

https://github.com/directorcia/Azure/blob/master/Iot/Keyestudio%20KS0172/Lesson_4.3/main.cpp

although it doesn’t really sounds like ‘Smoke on the water” to me, but that is clearly a limit of the equipment not the programmer (ha)!.

Keyestudio KS0172 – Flashing LED

Now that I have the Keyestudio KS0172 board working time for some customisations of the flashing LED.

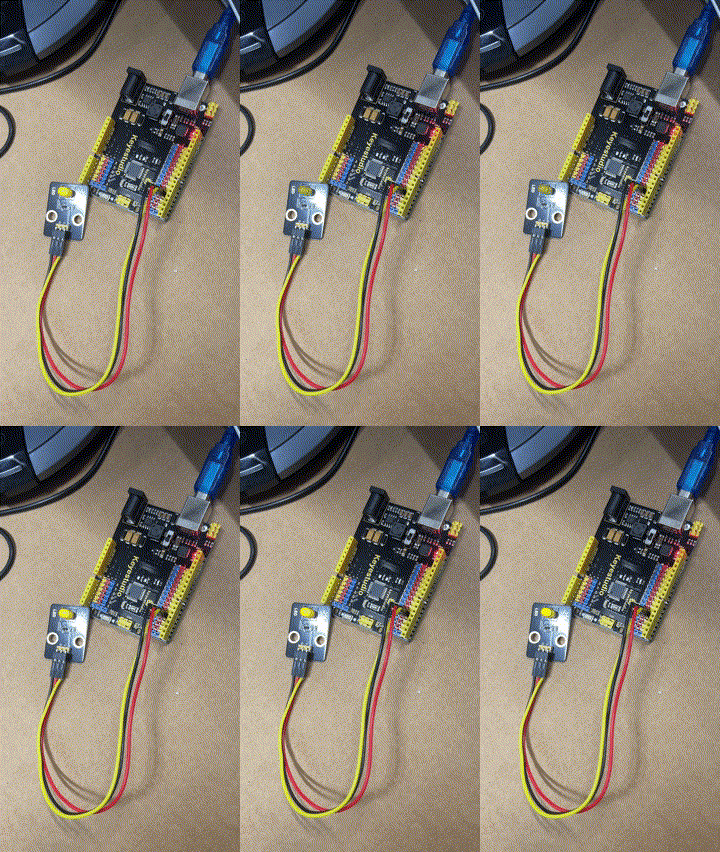
lesson1-2

First, make it flash faster. That is simply done by delay statement in the code here:

https://github.com/directorcia/Azure/blob/master/Iot/Keyestudio%20KS0172/Lesson_1.2/main.cpp

The lower the number the faster it flashes.

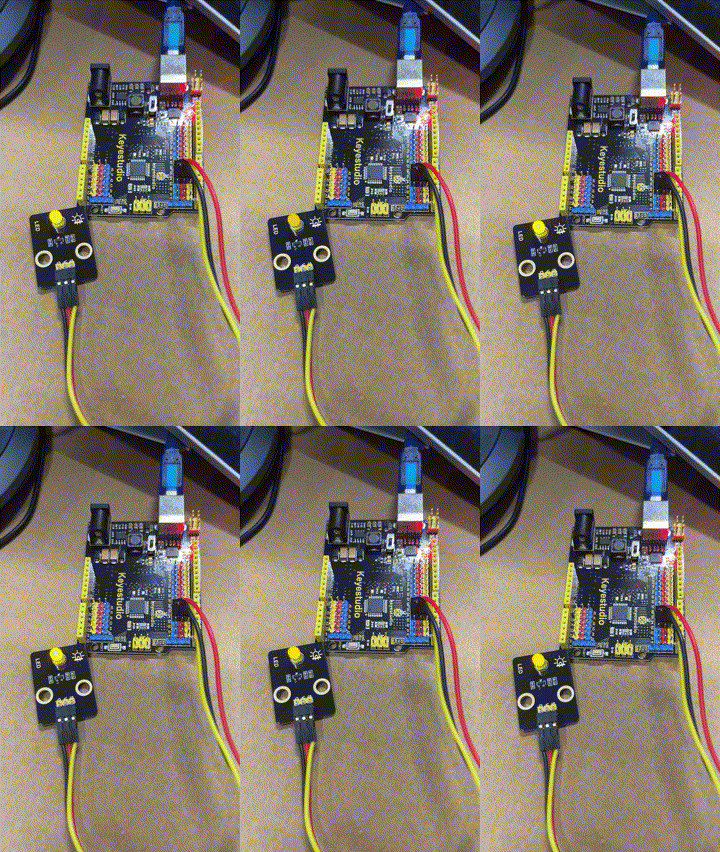
lesson1-3

Next, get the LED to fade in and out. The code for this is here:

https://github.com/directorcia/Azure/blob/master/Iot/Keyestudio%20KS0172/Lesson_2.2/main.cpp

This uses a new function I was not aware of:

The analogWrite function is used in Arduino programming to output a PWM (Pulse Width Modulation) signal to a specified pin. Here’s a detailed explanation:

Purpose

analogWrite is used to control the brightness of an LED or the speed of a motor by varying the duty cycle of the PWM signal.

Syntax

analogWrite(pin, value);

Parameters
  • pin: The pin number to which the PWM signal is sent. This must be a pin that supports PWM (usually marked with a ~ on Arduino boards).

  • value: The duty cycle of the PWM signal. It ranges from 0 to 255:
    • 0 means 0% duty cycle (always off).

    • 255 means 100% duty cycle (always on).

    • Values in between correspond to varying levels of on/off time.

This code creates a smooth fade-in and fade-out effect for the LED.